How To Schedule Instagram Messages
Instagram is a powerful platform for staying connected and engaging with your audience. If you use Instagram to manage a Business account, you've probably experienced the challenge of wanting to send messages at specific times, only to realize that manual messaging is the only option. But what if there was a way to schedule Instagram messages in advance, saving you time and effort?
In this guide, we'll explore how you can use the IGdm Pro app to schedule Instagram messages.
What is the IGdm Pro App
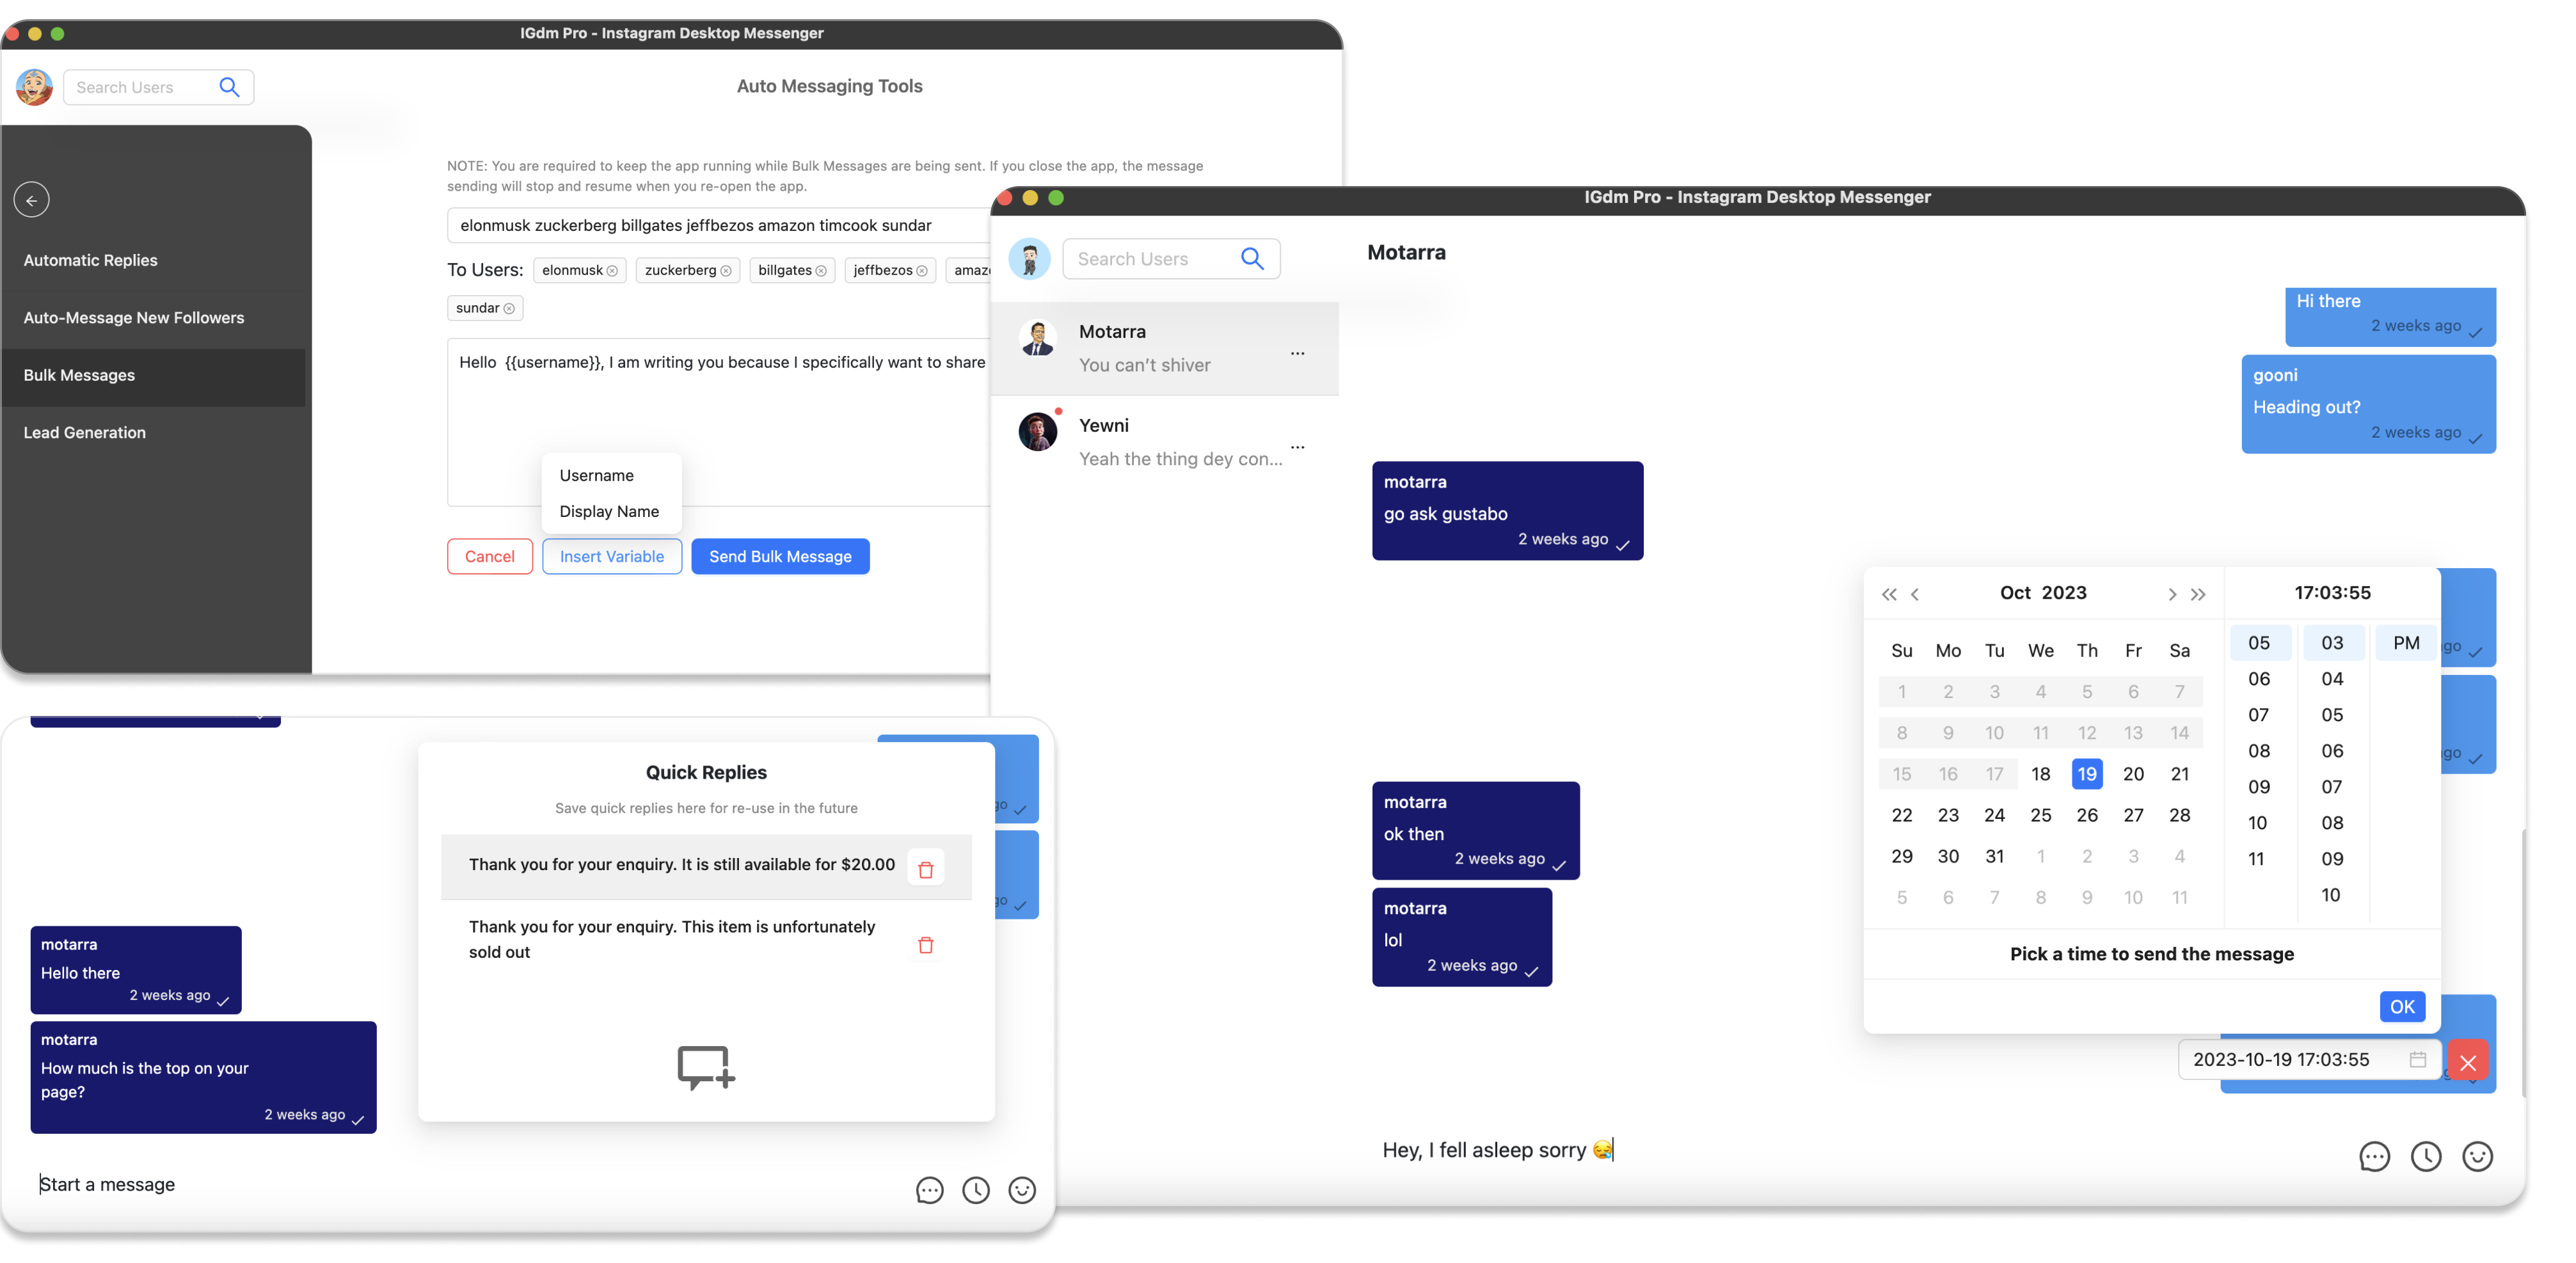
IGdm Pro is a handy application that has been designed to improve the effeciency of users who run businesses with their Instagram accounts. Asides from scheduling messages, IGdm Pro also offers bulk message sending, auto-replies, automatic welcome message to new followers, quick replies and a host of other productivity boosting features.
To install the IGdm Pro app, simply visit the website (https://igdm.me), and click the download link that is applicable to your operating system. Once downloaded to your computer, launch the application and complete the installation process.
Log In to Your Instagram Account
- Launch the IGdm Pro App
- Click on the button that says "Click to login with Browser". This will open instagram.com on the Chromium Browser
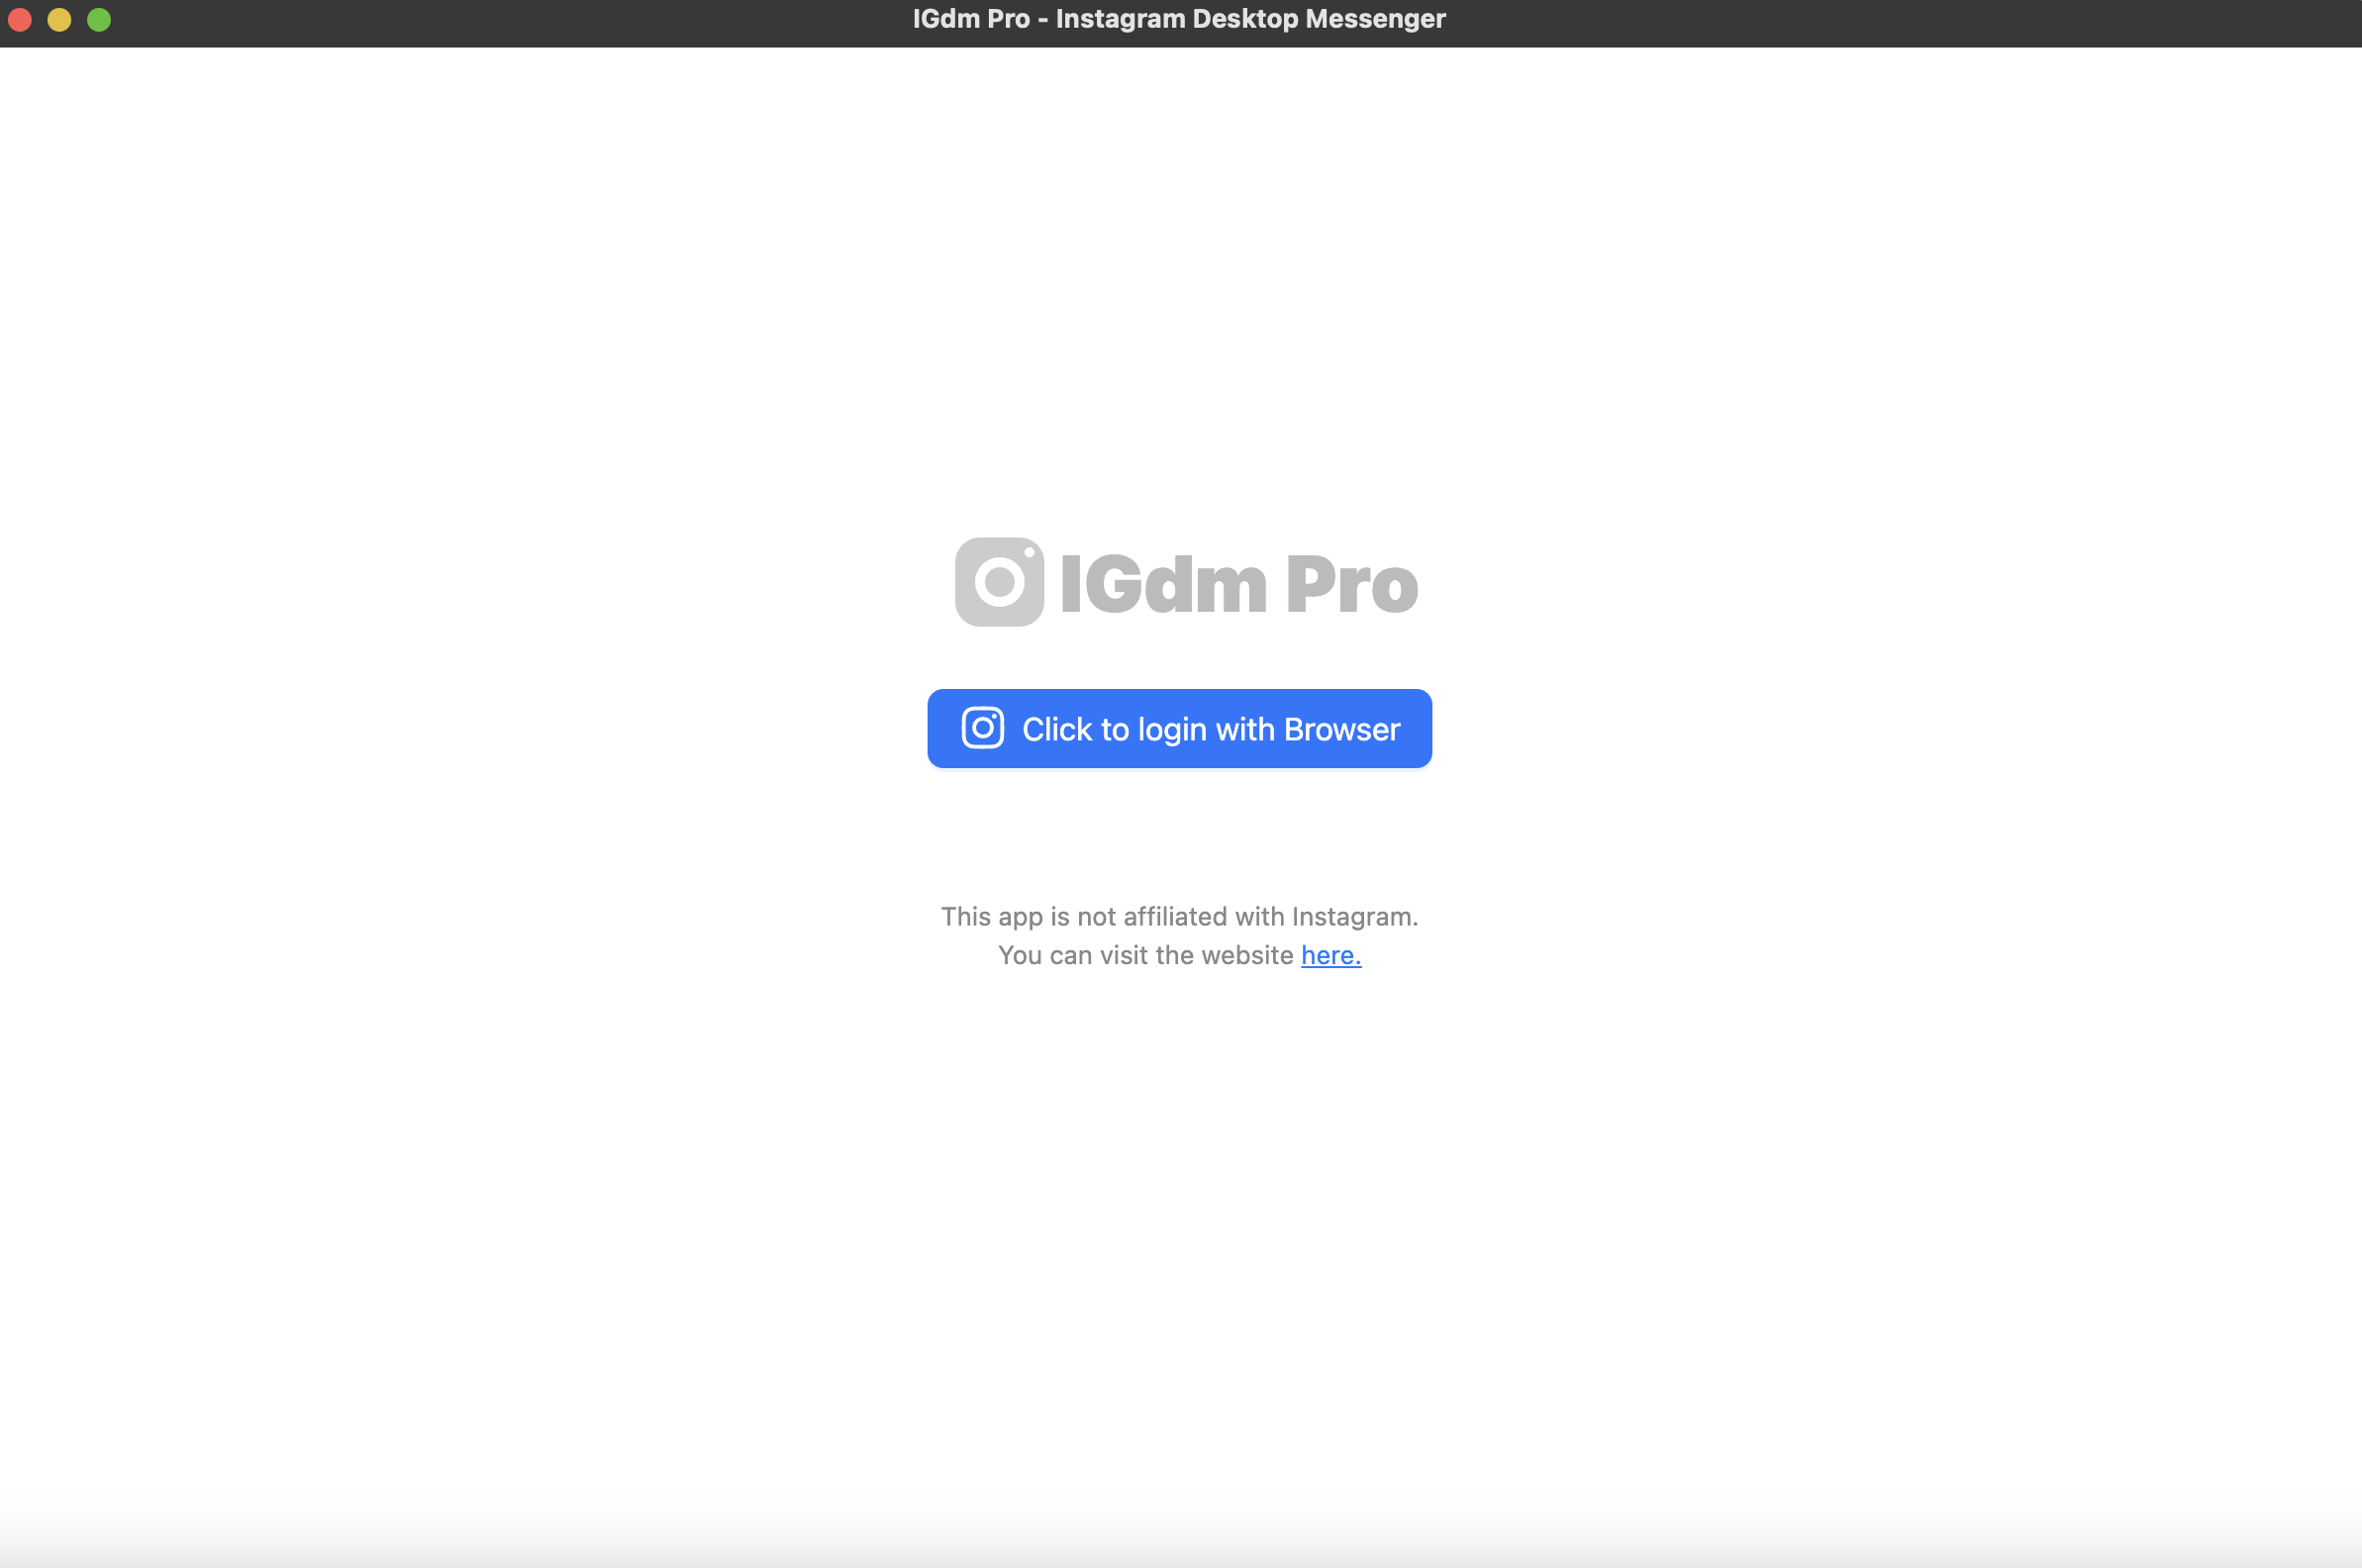
- Log into your desired Instagram Account via the Instagram page opened on the Chromium Browser.
- Once login is complete, the browser will be automatically closed and you can switch back to the IGdm Pro app as it loads up your account.
Schedule Your Instagram Message
- Select the user to which you want to schedule a message. You can either do this by selecting one of your existing conversations on the left sidebar, or you can search for users with the search input at the top left corner of the app.
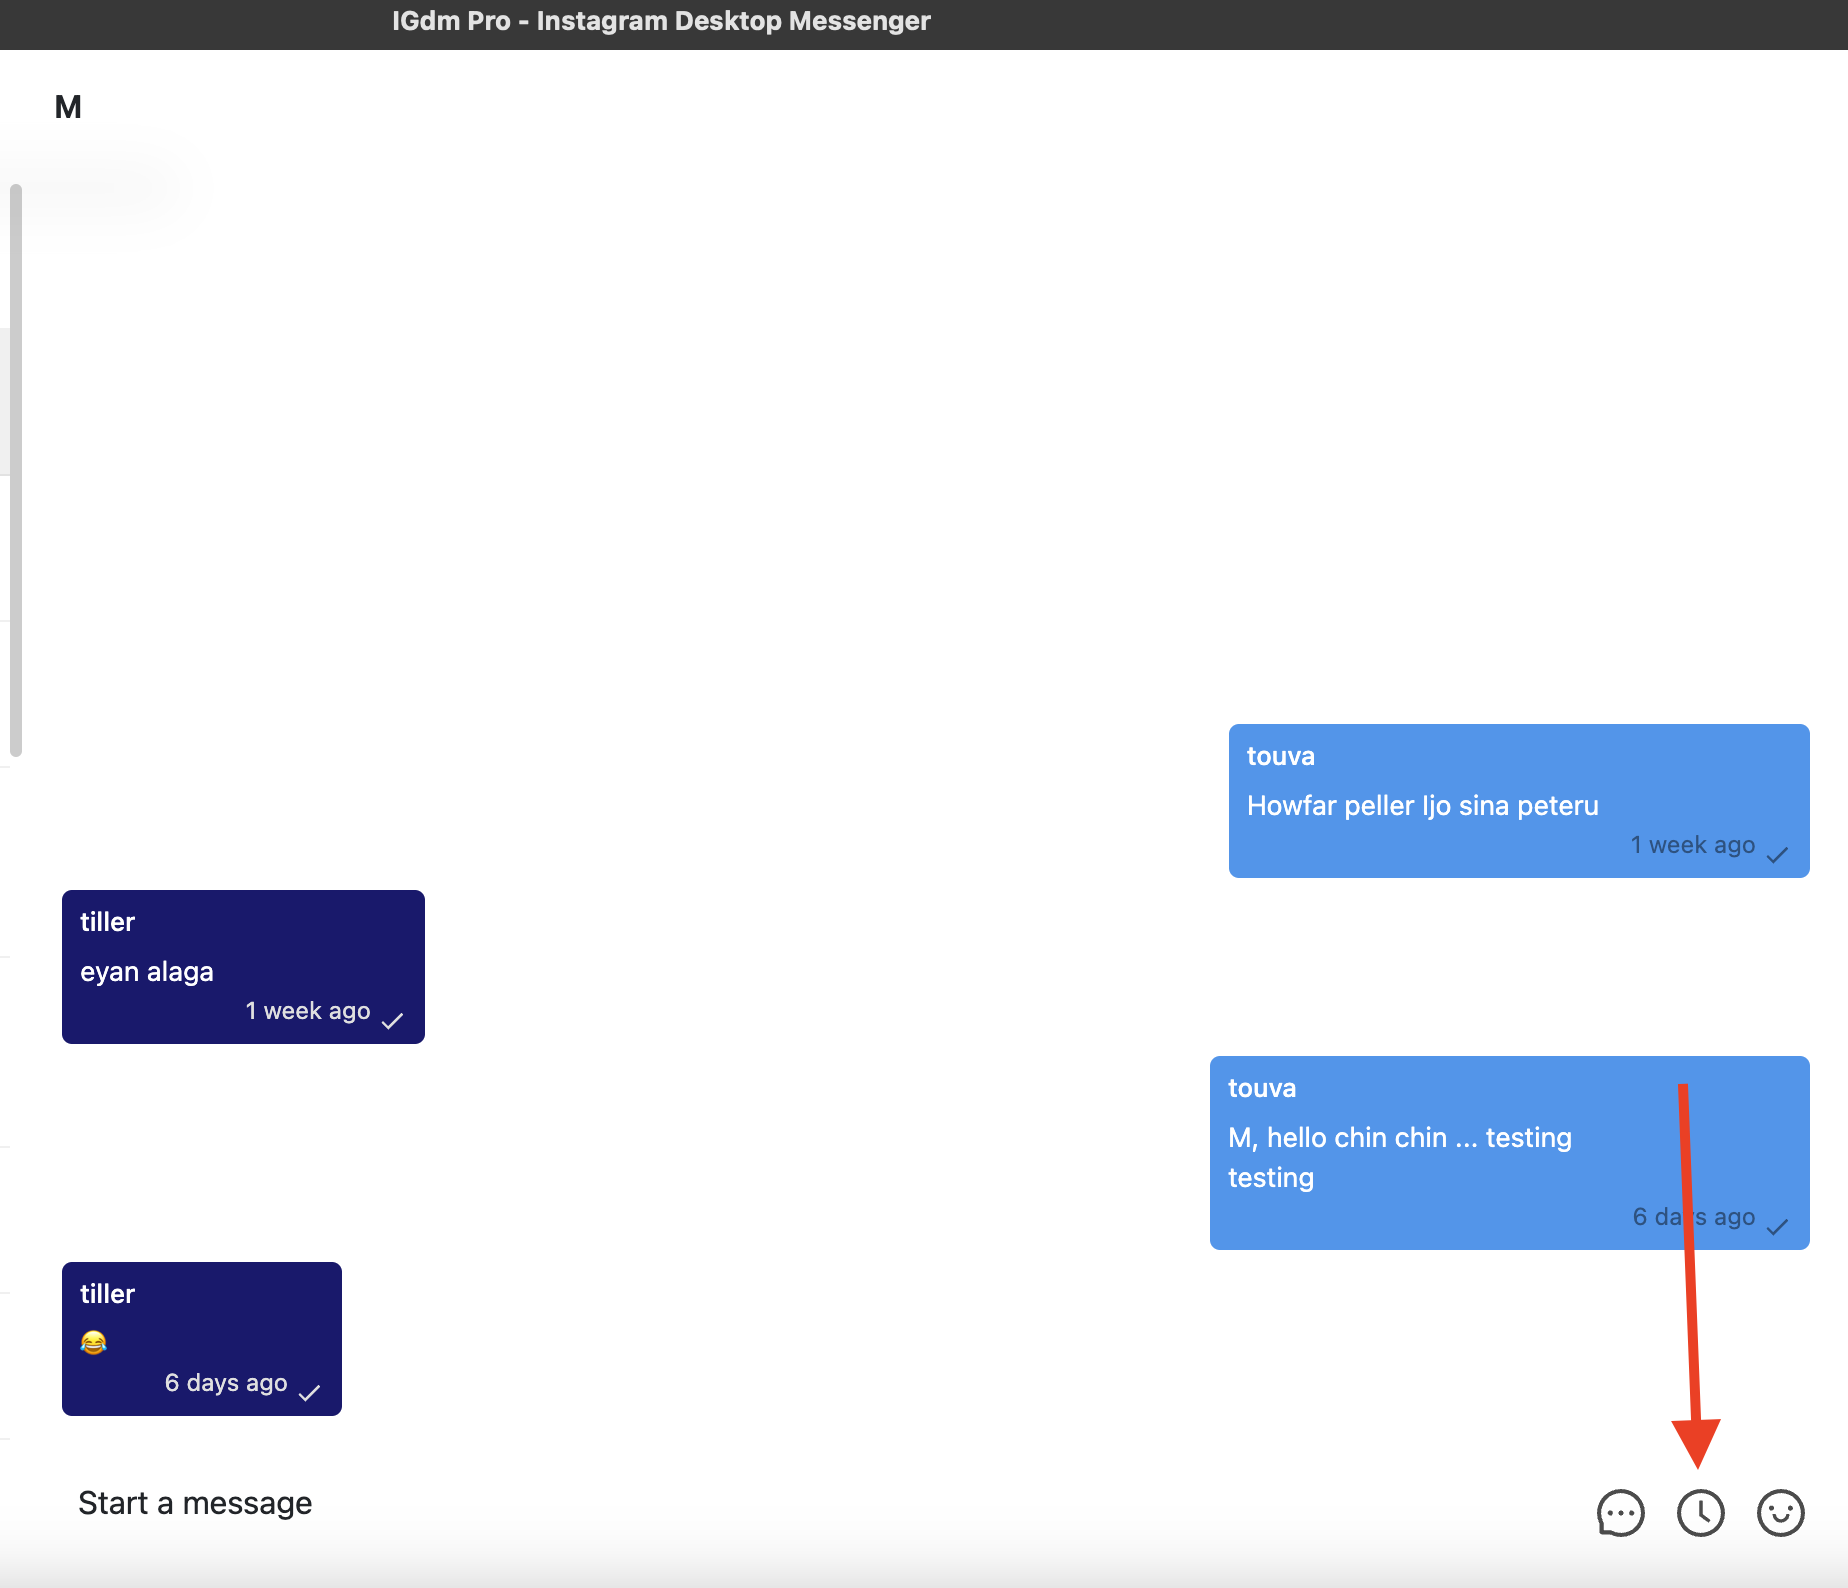
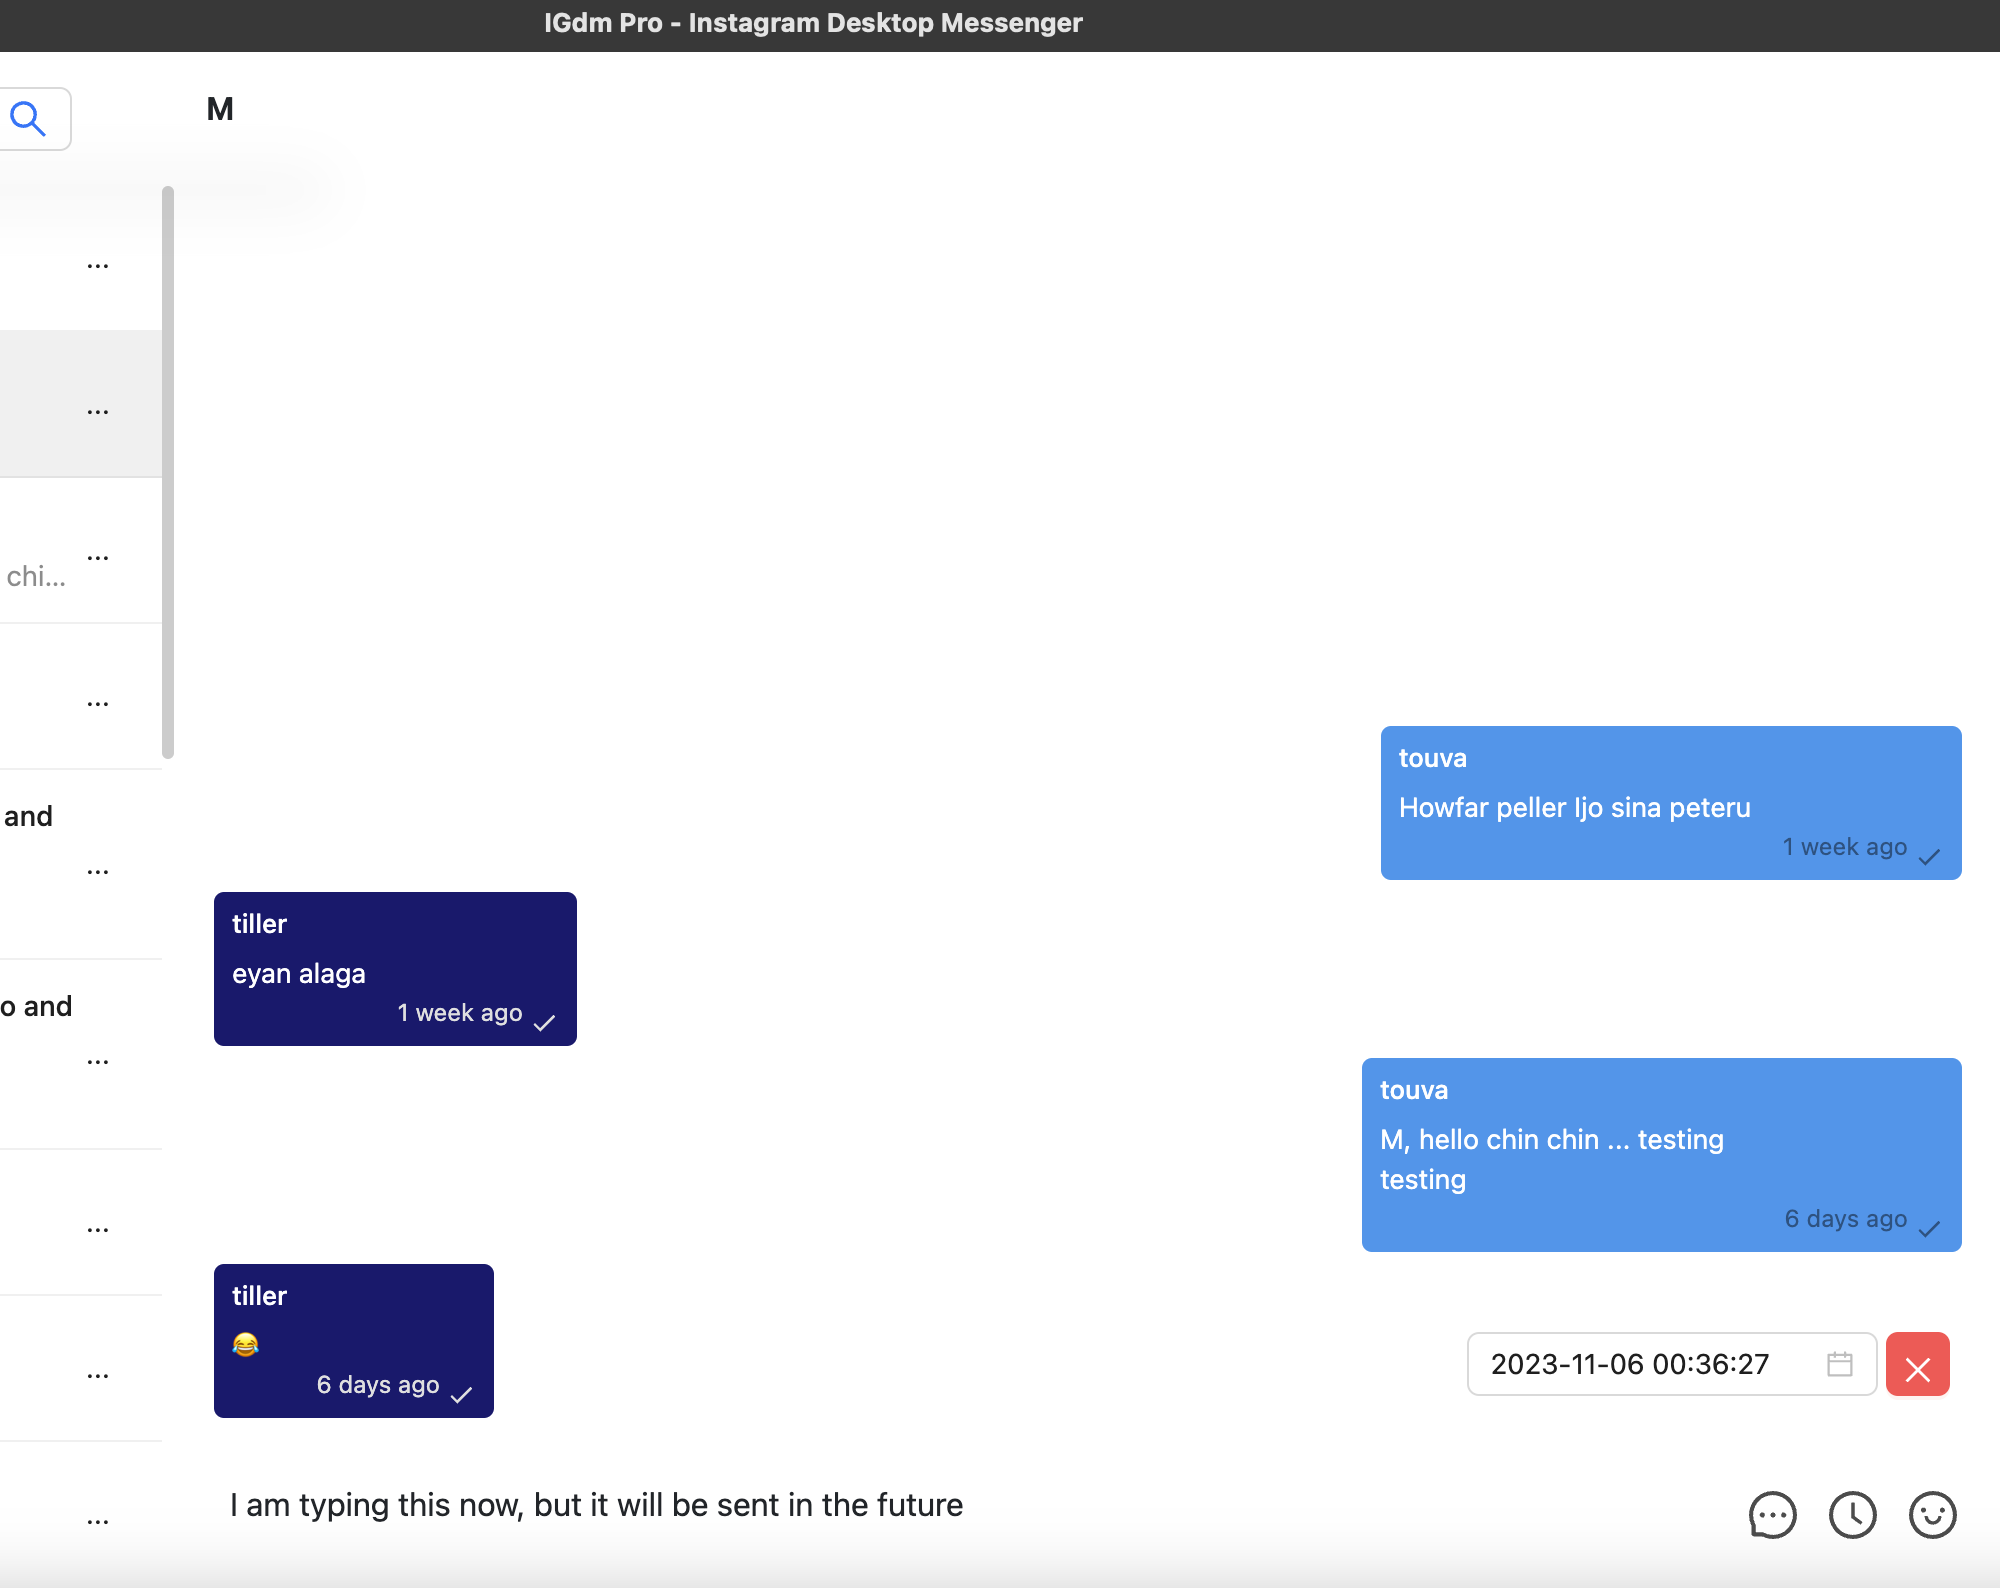
- Once you've selected a user, click the "clock" icon at the bottom right corner of the app (see screenshot below). This is the button that starts the message scheduling process.
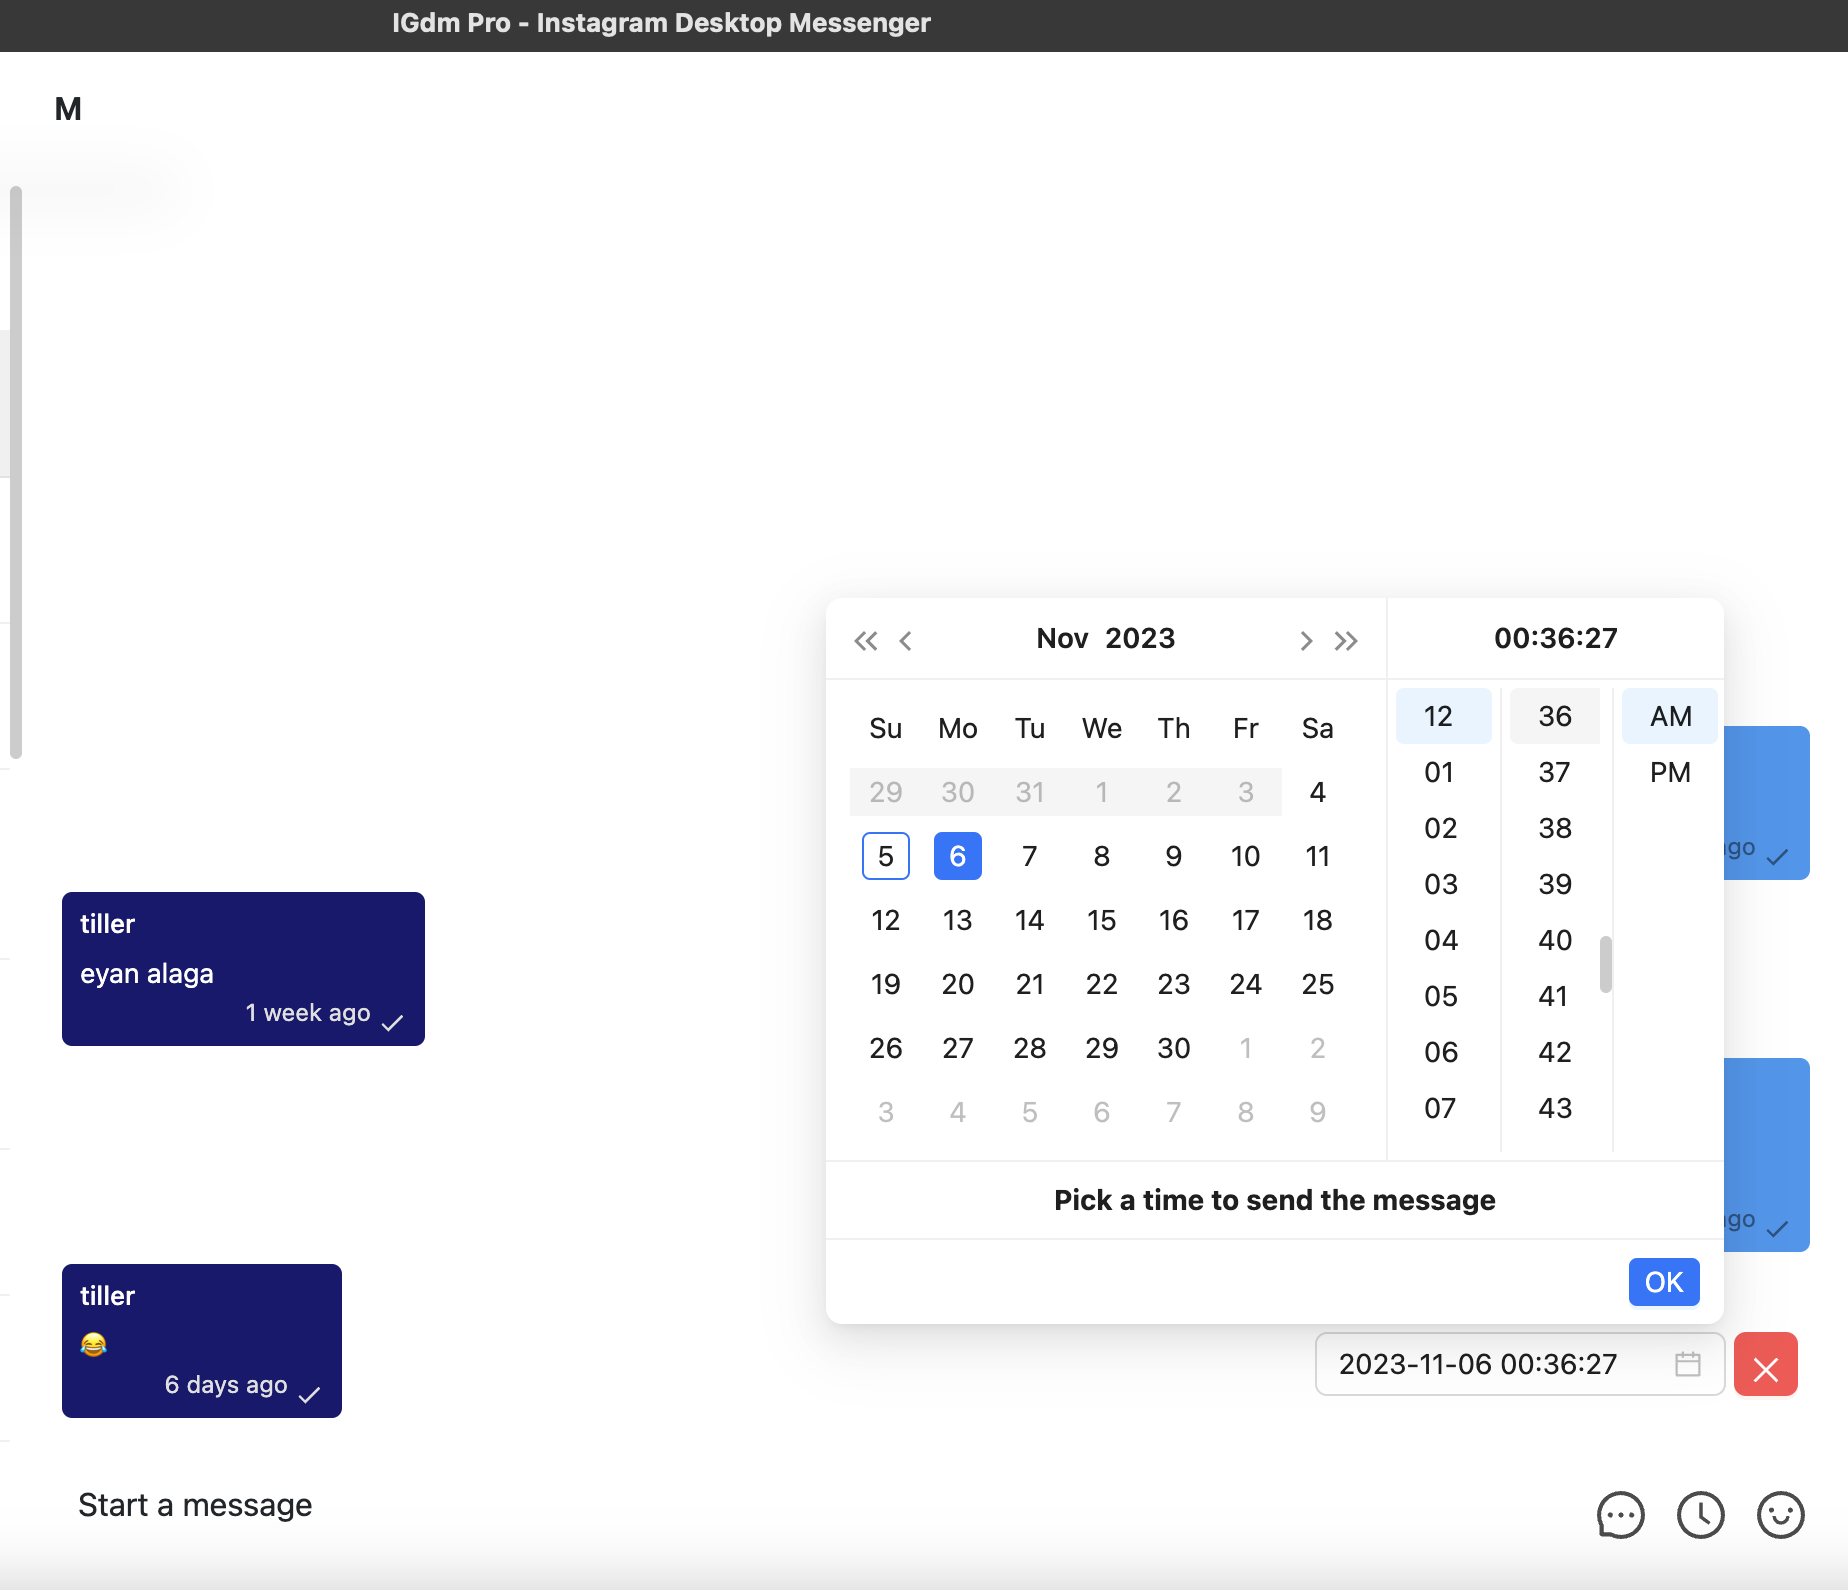
- A Calendar pop-up will appear for you to select the date and time you would like the message to be sent. Go ahead and select your desired date and time, then click the "Ok" button.
- Once the date and time have been selected, you can now type your intended message in the message box as seen in the screenshot below. If you would like to cancel the message scheduling at any point, simply click the red "x" button beside the floating date, just right above the message box.
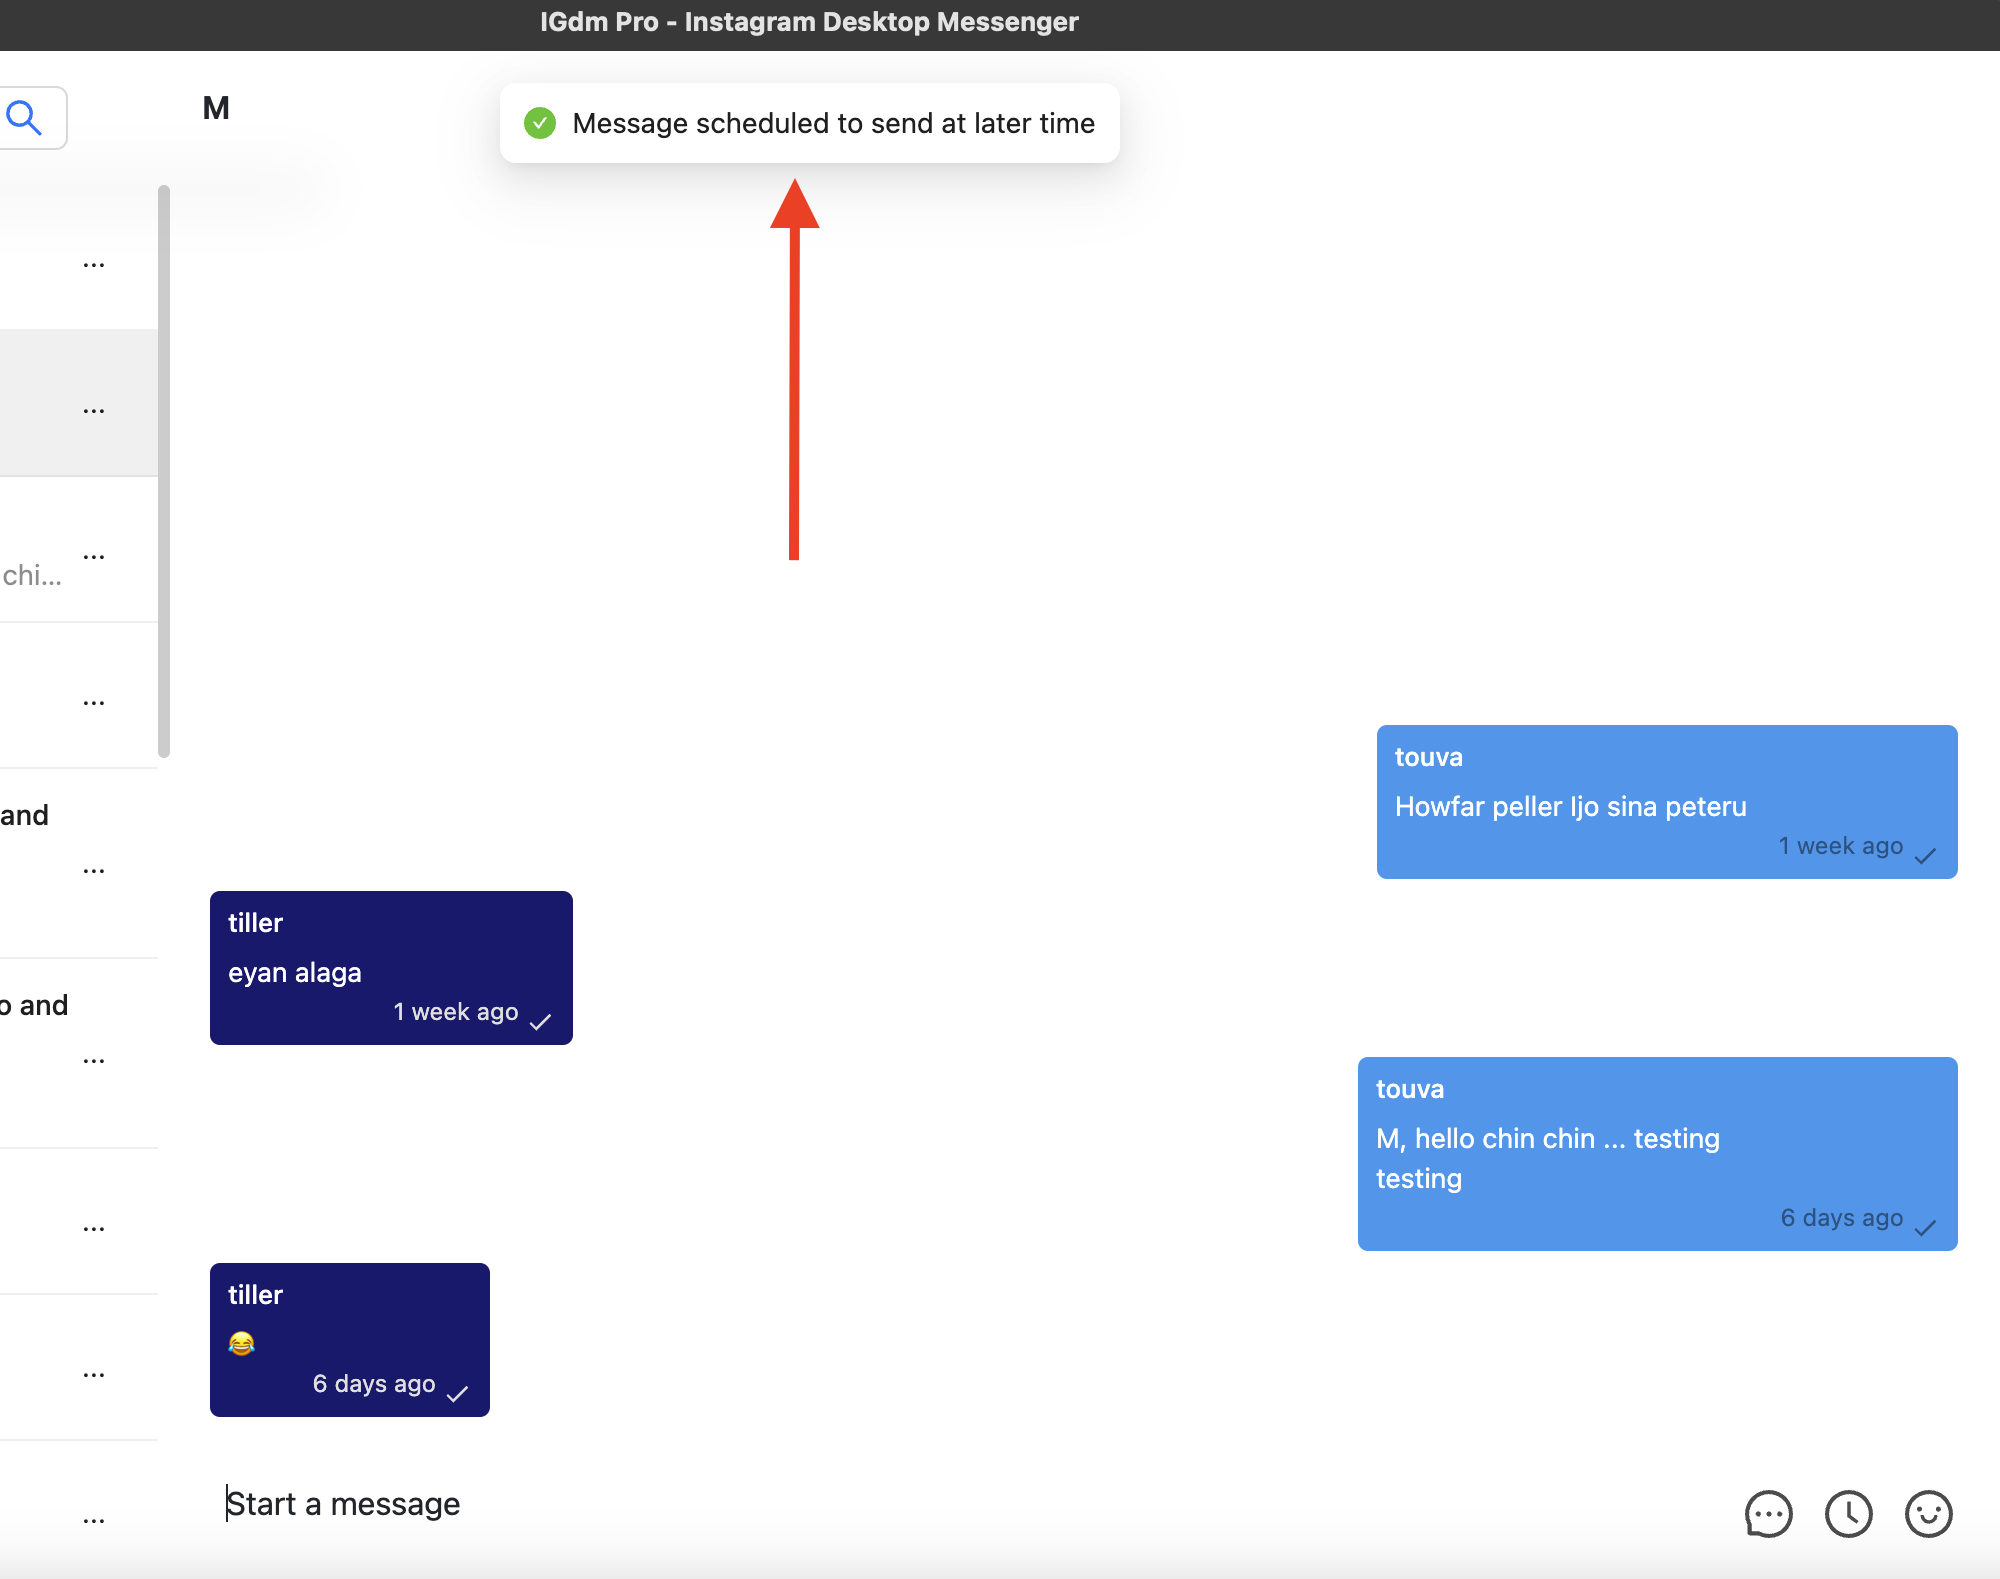
- When you're done typing your message, you can press the ENTER button to schedule the message. A success message will appear at the top of your screen (see screenshot below), informing you that your message has been scheduled.
NOTE: If your IGdm Pro app is not running at the time the message is due to be sent, it will not send the message until the next time your launch the application.
View Your List Of Scheduled Messages
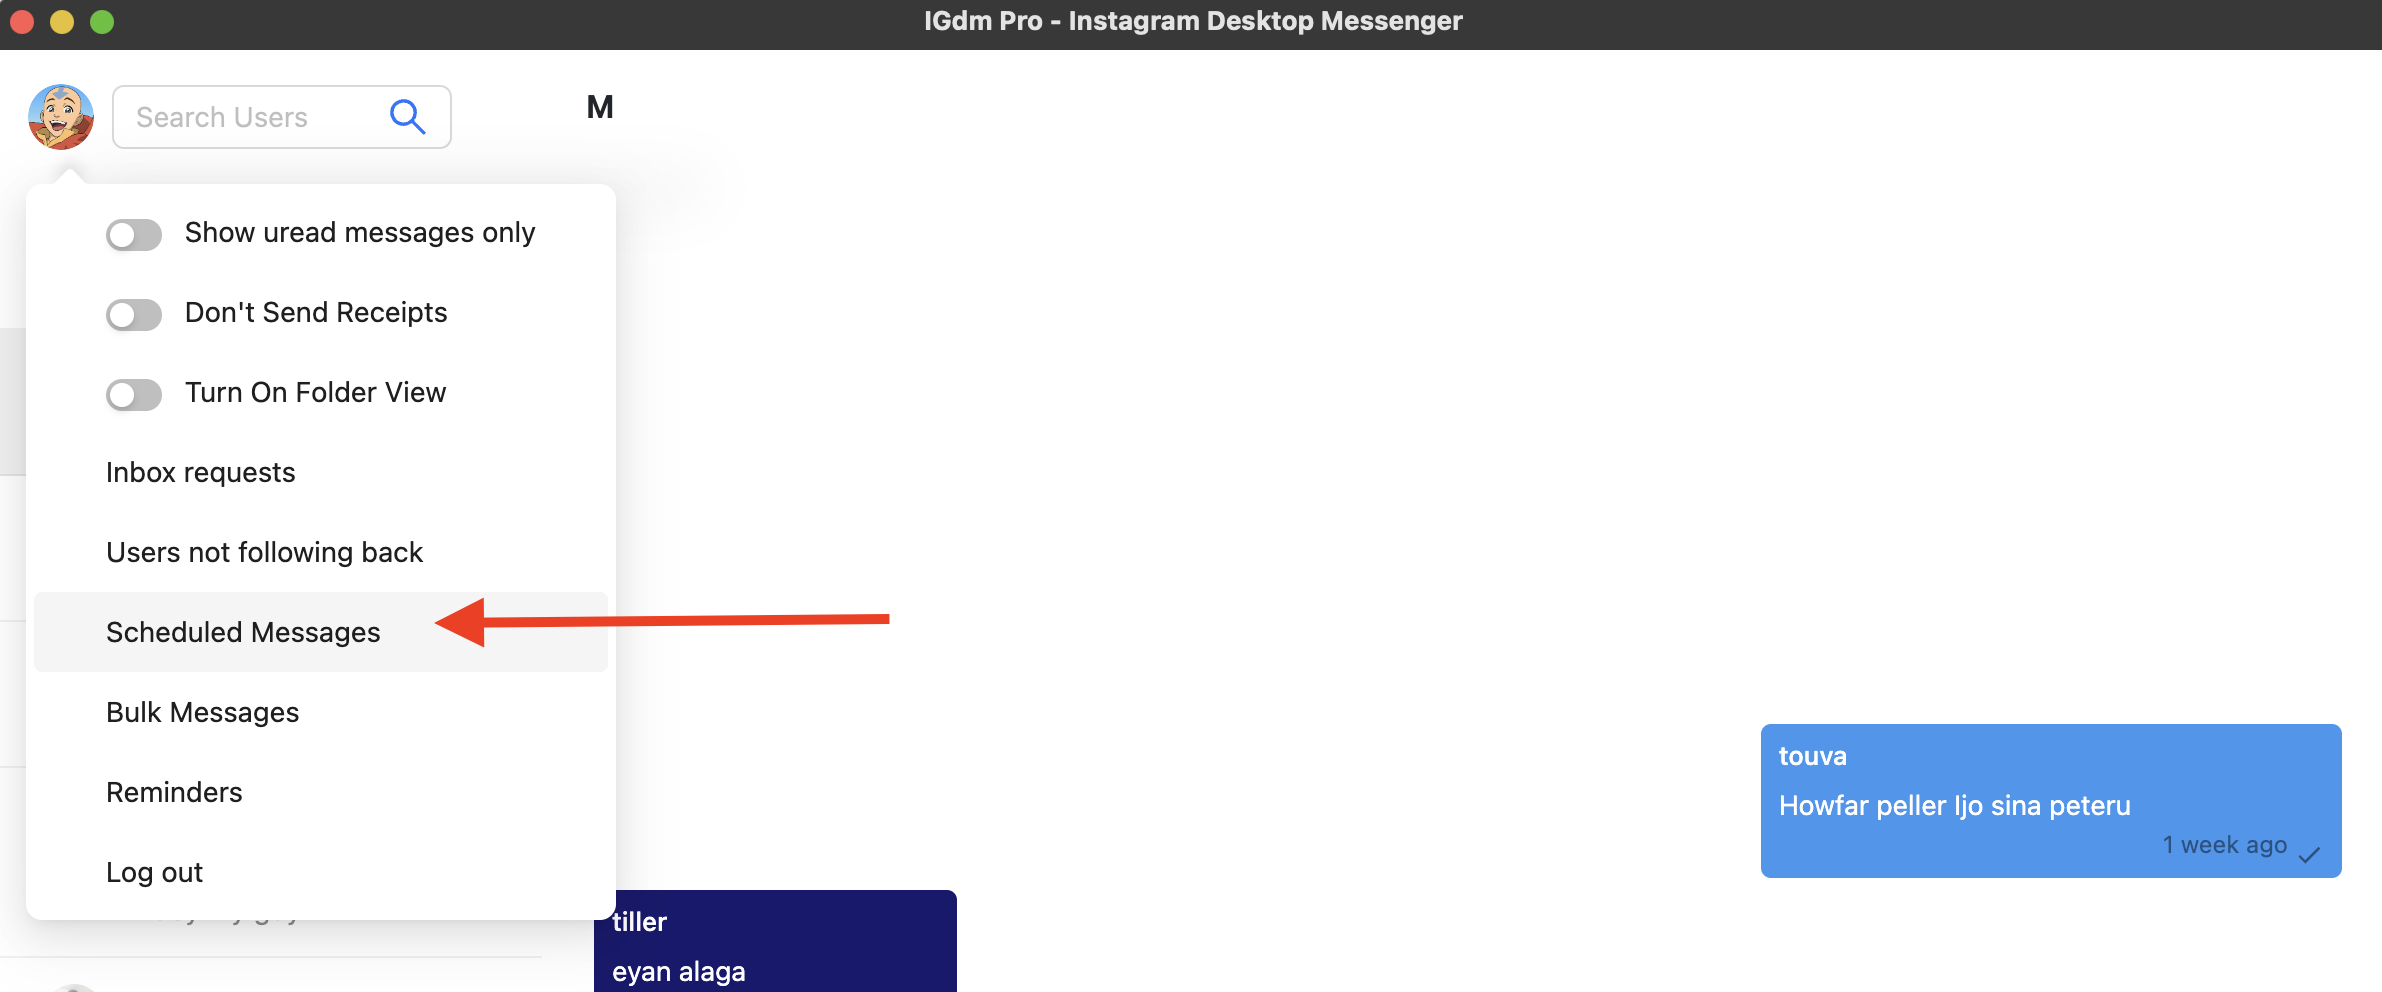
- To view a list of your scheduled messages, navigate your mouse to hover on your profile picture located on the top left corner of the application (see screenshot below).
- A dropdown menu will appear with a list of actions that you can perform. Click on the "Scheduled Messages" option.
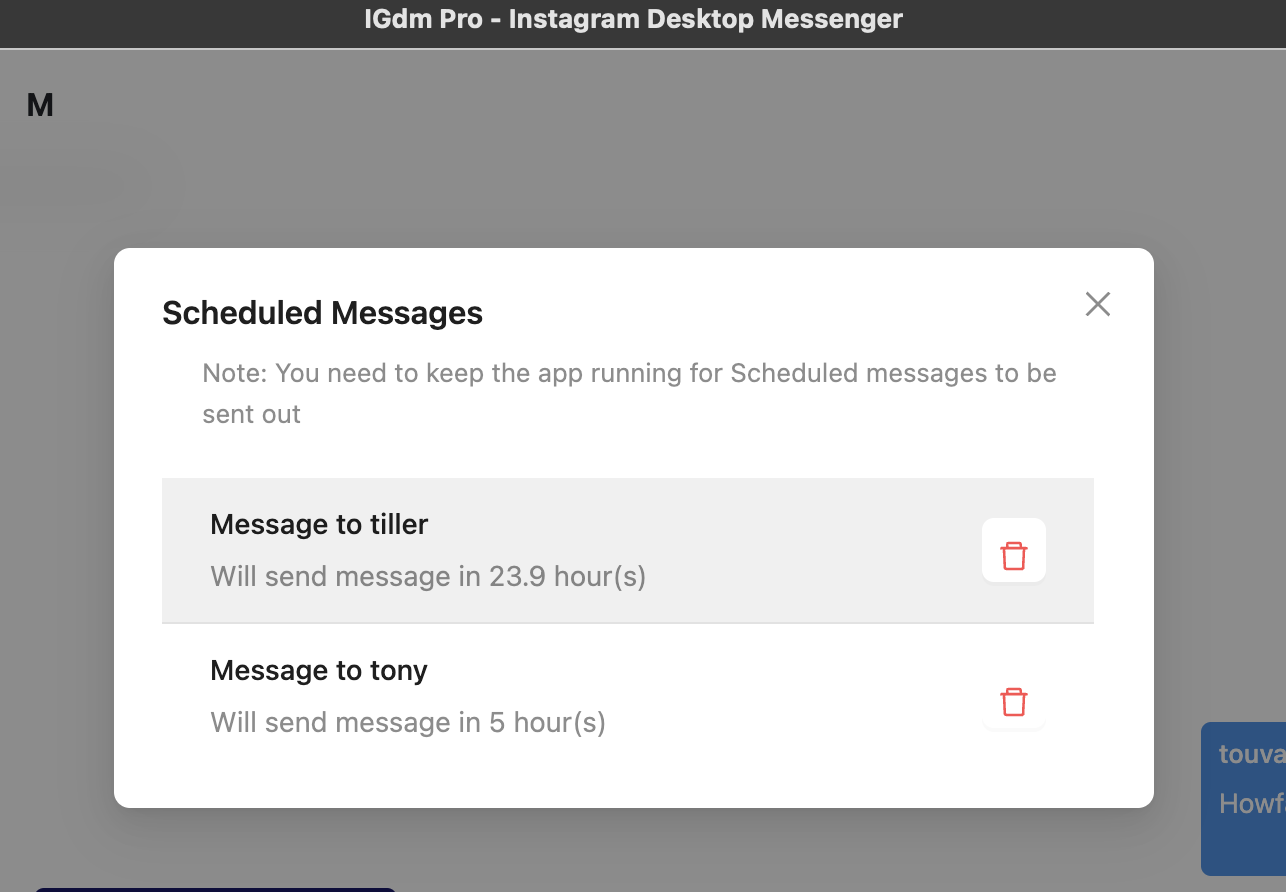
- A pop-up will appear with your list of scheduled messages.
- If you would like to delete a scheduled message, you can click the delete button beside the scheduled message. Once you do this, the message will no longer be sent when the time is due.
Conclusion
With IGdm Pro, scheduling Instagram messages is no longer a hassle. Ready to take control of your Instagram messaging? Download IGdm Pro today and unlock the power of scheduled messaging.
